Sphereon Wallet
Demo Instructions
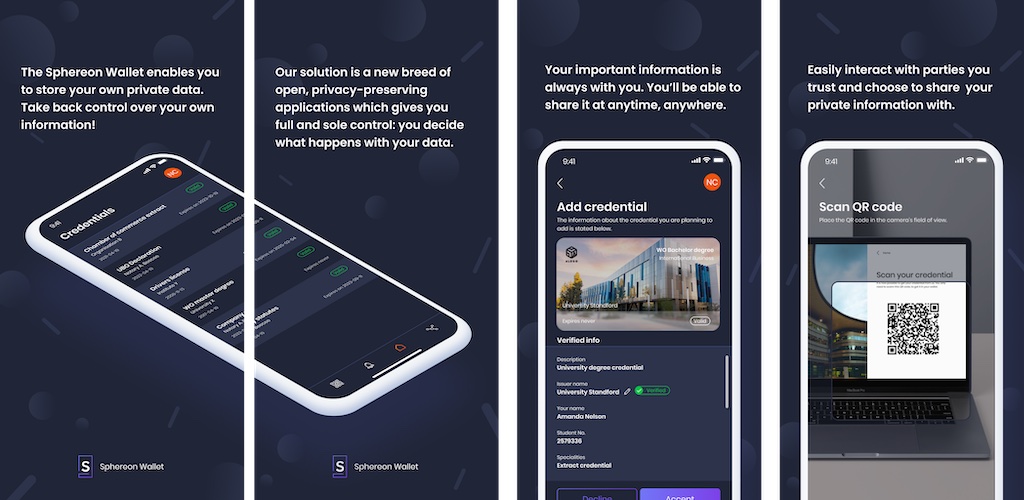
The Sphereon Wallet enables you to store your own private data and gives you full and sole control over whom you want to share your information with!
The Sphereon Wallet represents a new class of cutting-edge, open, and privacy-centric applications, ensuring that you maintain exclusive control over your personal information.
Your data is stored nowhere else but on your phone. It enables you to manage your own data. Nobody else will have access to your information, unless you decide you want to share your information with someone else. And what to share.
It enables you to request and receive so-called Verifiable Credentials from official sources, institutions, enterprises, or other organizations. Verifiable credentials are digital records that act as proof of a person’s identity, qualifications, roles, achievements, or other attributes.
1. Download the Sphereon Wallet
Download the Sphereon Wallet from the respective App Store.
 |
 |
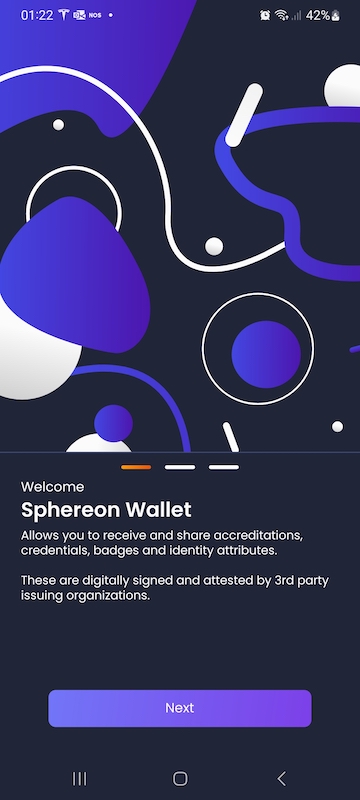
2. Onboarding
Since the Wallet is a so-called Self Sovereign Identity Wallet, no information you provide during the onboarding will be shared with any external party. That includes the developer (Sphereon) of the Wallet. You will always be asked when receiving or sharing data with external systems.
The user details you provide during the onboarding are only used for local personalization of the wallet, supporting multiple profiles and future features of the Wallet. There is no e-mail validation or external system involved.
The onboarding process
| Launch the Sphereon Wallet Once you start the Sphereon Wallet the first time you will be greeted by the Welcome screen:
|
 |
Accept the terms of service
|
 |
Personal details
|
 |
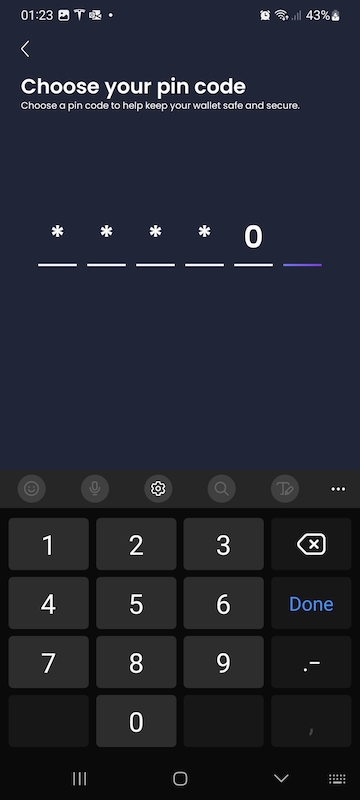
Choose a pin code
|
 |
Verify your pin code
|
 |
Verify the data you entered
|
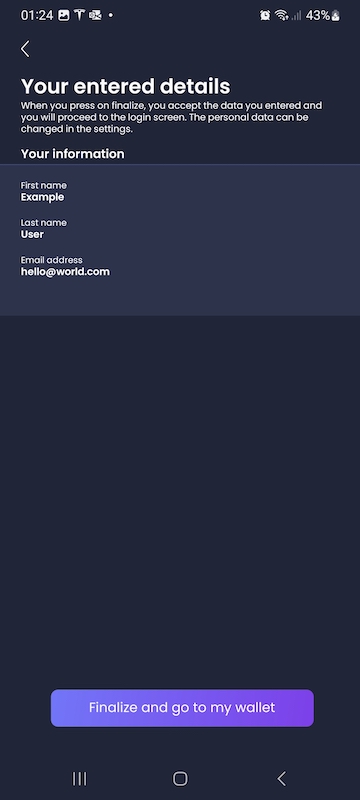 |
Finalizing the wallet setup
|
 |
Your first credential
|
 |
3. Receiving Credentials from an Issuer
You can receive Verifiable Credential from so called issuers. The wallet has support for multiple open standards to get these Credentials. Currently on the OpenID for Verifiable Credential Issuance standard is enabled.
OpenID for Verifiable Credential Issuance (OID4VCI) process
The current wallet only supports the new OID4VCI specification for receipt of credentials. To get a credential issued to the wallet, using OpenID for Verifiable Credential Issuance (OpenID4VCI) the following steps can be followed.
The below issuer systems were part of the JFF/W3C-EDU plugfest 2 to show interop for OpenID4VCI. Please note that the Verifiable Credentials issued by the below list are just for demo/testing purposes.
Scan the Verifiable Credential QR-code displayed by the Issuer
|
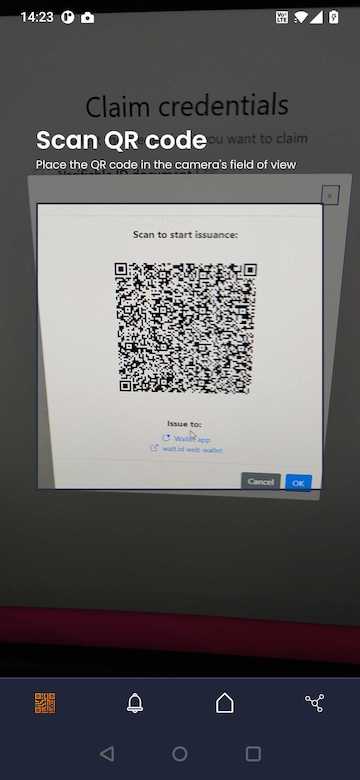 |
New contact creation
|
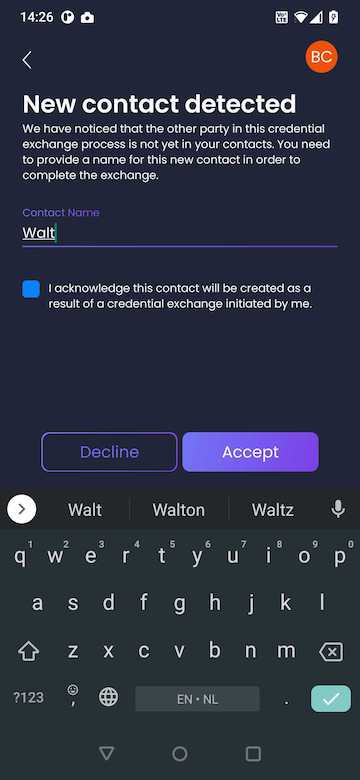 |
Select and accept credentials
|
 |
Enter a verification pin code (if required)
|
 |
Review the credential details
|
 |
Credential overview screen
|
 |
4. Sharing Credentials with a Verifier
You can share Verifiable Credentials with so called Verifiers or Relying Parties. The wallet has support for multiple open standards to share these Credentials. Currently on the OpenID for Verifiable Presentations standard is enabled.
OpenID for Verifiable Presentations (OID4VP) process
The current wallet supports the new OID4VP specification for sharing credentials. To share a credential from the wallet with the Verifier, using OpenID for Verifiable Presentations (OID4VP) the following steps can be followed.
Please note that the Verifiable Credentials shared with the below list should only be used for demo/testing purposes.
Credential overview screen
|
 |
New contact creation
|
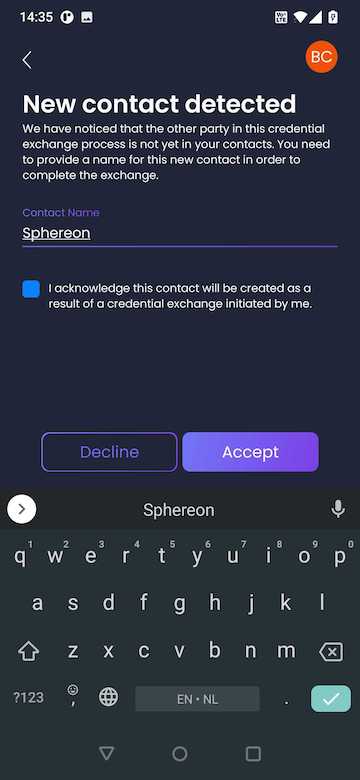 |
You will now go to the overview screen from where you will have to select the required Verifiable Credentials from your wallet. An error will be displayed if the Verifier is asking information not present in your wallet.
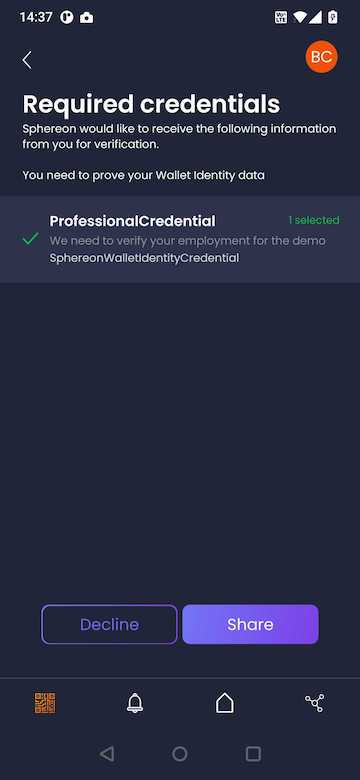
Select a required credentials
Note: The texts in these list items come from the Verifier and should provide you with hints on why the information is needed. |
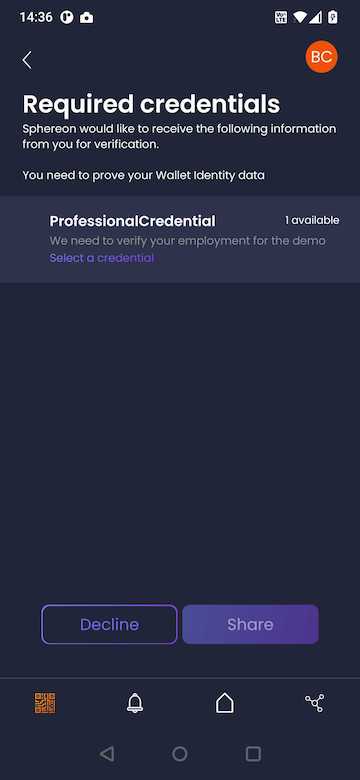 |
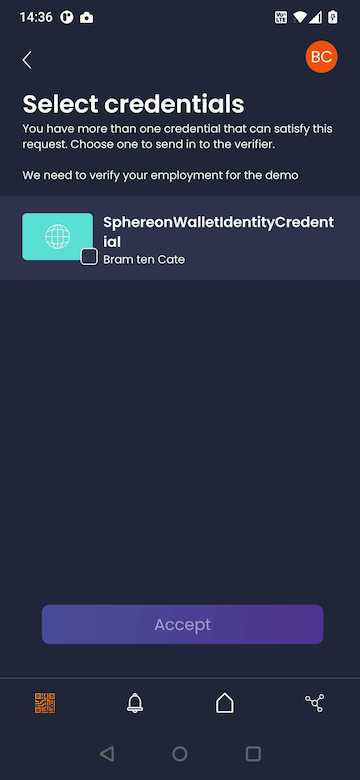
After you click on a single list-item for a specific input requirement, you will go to the overview screen of available Verifiable Credentials that can satisfy this requirement.
Select a credential from the wallet
|
 |
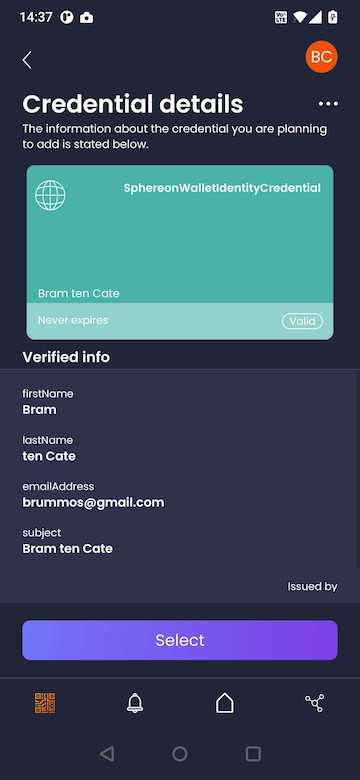
Review Credential details
Note: the current version of the wallet only supports 1 credential per input requirement, but does support multiple input requirements from a Verifier.
|
 |
Share Credential
|
 |
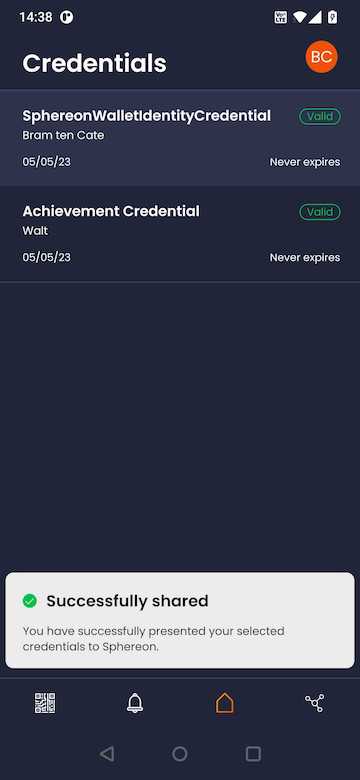
Credential successfully shared
|
 |